Orthoimagery Discovery Application Help-Tools Menu
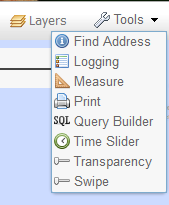
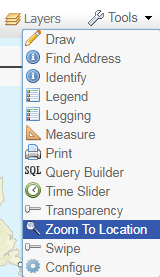
The Tools menu provides a number of different functions. Open the Tools menu by clicking the Tools button on the toolbar. Select a tool by clicking on it:
Find Address
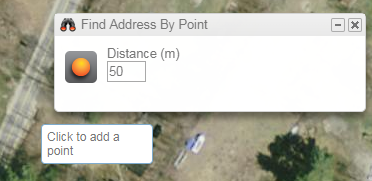
Using a reverse geocoding process, a user can click a location and determine the street address of that location. Open the tool, click the button on the tool to activate. Optionally, change the search distance. Click on the map:
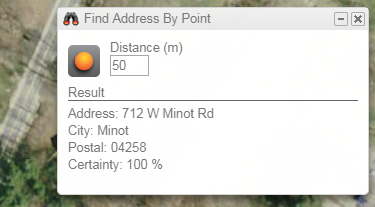
The tool will return the closest matching address to the location that was clicked:
Logging Tool
Displays diagnostic information on discovery tool activity, which can be used for troubleshooting. Users would not normally use this tool except when working with MEGIS staff in the event of problems with the application.
Measure Tool
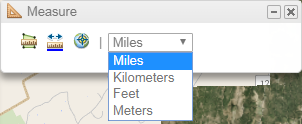
Measure lengths, areas, and coordinates of point locations. After opening the tool, click either the Area, Distance or Location button. Select the unit of measurement from the dropdown:
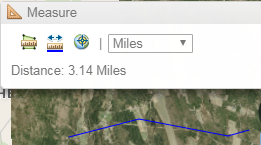
Next, click the mouse on the map. If measuring an area, draw a polygon around the area of interest. If measuring distance, draw a line, if measuring a location, click on the point of interest. Double-click to complete drawing. The measurement will appear on the Measure tool:
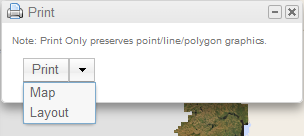
The Print tool allows printing of the map as displayed in the browser. It can print either a view of the map only, or as a page layout including margin content, scale bar, title and other data. The type of printout is selected from the dropdown in the print widget:
Query Builder
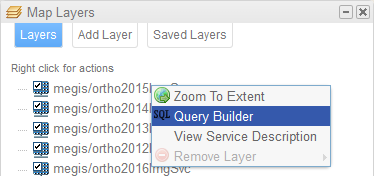
This tool is for advanced users who know how to construct a SQL query. NOTE: although this tool appears in the Tools menu, it should actually be activated from the Layer list by right clicking the layer of interest and clicking SQL Query, as shown:
This will open the Query Builder dialog box:
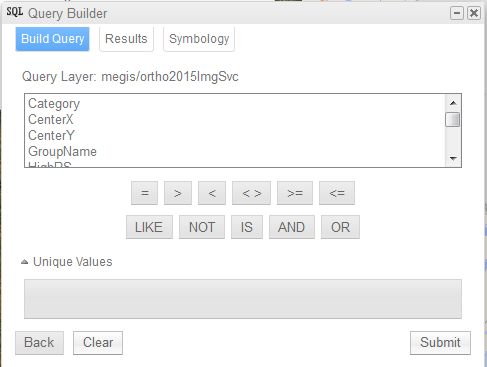
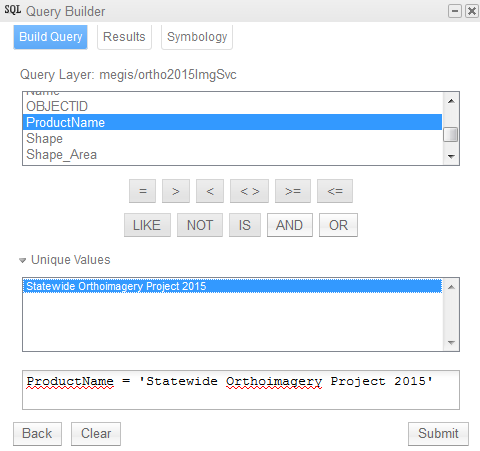
Here you can enter a query to select images based on a criteria:
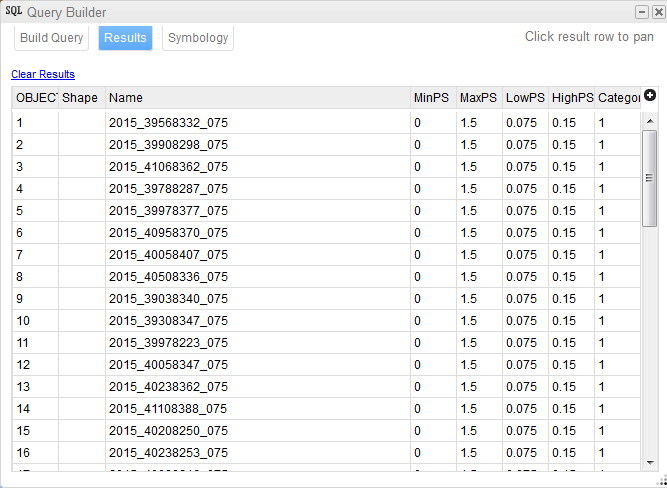
Then click the Submit button. A list of images meeting the criteria you entered will be displayed. Click on one of the results to pan the map to it:
Time Slider
The Time Slider allows you to view imagery from the perspective of collection date, showing imagery for an area of interest over time.
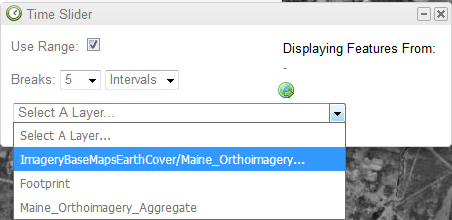
When selected from the Tools menu, the Time Slider will appear as shown below:
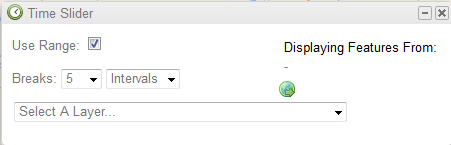
To use the time slider, first zoom in to your area of interest. Remember to zoom in far enough so that all the imagery for that area will be visible. In the Select a Layer dropdown, select the first layer in the list (ImageryBaseMapsEarthCover/Maine_Orthoimagery...).
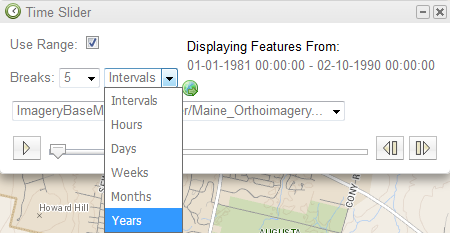
Next, select Years from the Intervals dropdown:
The Time Slider includes an animation control, which automatically advances through the imagery collection dates for a given area:
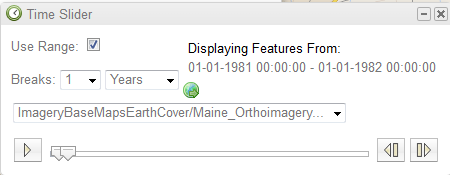
Click the button at the lower left of the Time Slider to activate the animation.![]() The tool will step through each year, displaying the imagery for that particular year (Not all years will contain imagery for a particular area). Click the button at the lower left of the tool again to pause and resume the animation.
The tool will step through each year, displaying the imagery for that particular year (Not all years will contain imagery for a particular area). Click the button at the lower left of the tool again to pause and resume the animation.
When animation is paused, you can use the two buttons in the lower right of the tool to step through each year. ![]()
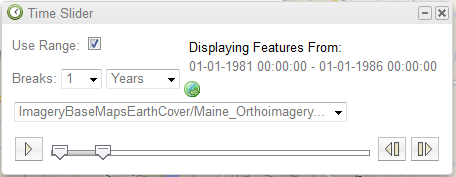
When the "Use Range" checkbox on the Time Slider is checked, you can display images over a range of dates. Click and drag one of the indices on the bottom of the Time Slider:

The "Displaying Features From" text on the Time Sldier will show the range of dates selected:
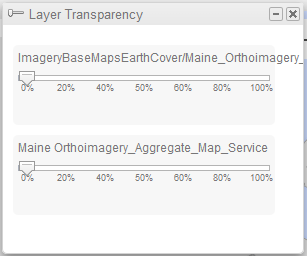
Transparency
Controls the transparency or opacity of each image layer. A slider control allows you to adjust the transparency of each layer, measured from 0 to 100 percent:
Zoom Tool
A Zoom To Location tool is provided in the Tools menu on the right side of the toolbar:
This allows a user to select a county name, thereby zooming the map to that location:
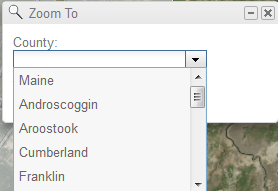
A second dropdown allows zooming to a town within the selected county.
Please note: Only a limited number of towns are programmed into the Zoom to Town control at this time.
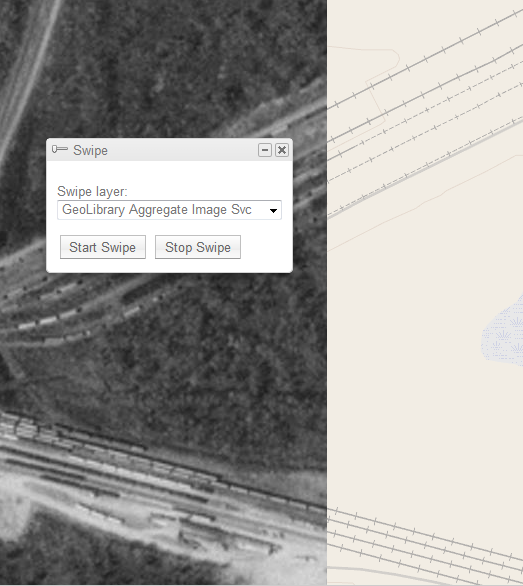
Swipe
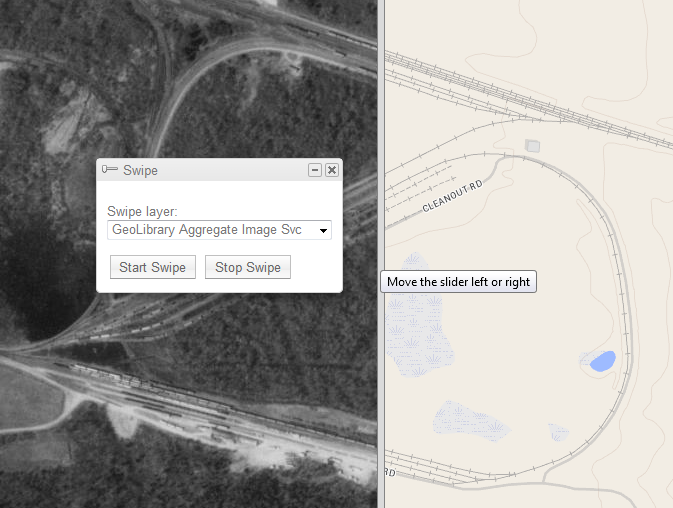
Allows user to compare imagery side by side with the selected basemap, or optionally, a layer added by the user (see Layers section).
To use, select the Swipe tool from the Tools menu. Select one of the image layers from the Swipe Layer dropdown. Click Start Swipe button. A vertical bar will appear on the map. Moving the bar back and forth with your mouse will expose more imagery or basemap, as shown:
Clicking the Stop Swipe button will hide the vertical swipe bar. You can now pan and zoom the map, each portion of the screen will show either the image layer or the basemap: